如何使用springboot配置和占位符获取配置文件中的值
导读:本文共4245.5字符,通常情况下阅读需要14分钟。同时您也可以点击右侧朗读,来听本文内容。按键盘←(左) →(右) 方向键可以翻页。
摘要: springboot配置和占位符获取配置文件值@PropertySource& 加载指定的配置文件packagecom.example.springbootdemo.pojo;importcom.alibaba.fastjson.JSON;importorg.springframework.boot.context.properties.Config... ...
音频解说
目录
(为您整理了一些要点),点击可以直达。springboot配置和占位符获取配置文件值
@PropertySource& 加载指定的配置文件
packagecom.example.springbootdemo.pojo;importcom.alibaba.fastjson.JSON;importorg.springframework.boot.context.properties.ConfigurationProperties;importorg.springframework.context.annotation.PropertySource;importorg.springframework.stereotype.Component;/******GOODLUCK******@Author:Wukn*@Date:2018/6/**将配置文件中的的每一个属性的值,映射到这个组建中*@ConfigurationProperties*prefix="persion"指定在配置文件中需要将persion的配置属性映射到这个实体类中*//***获取指定配置文件*@PropertySource(value={"classpath:coms.properties"})*/@Component/***@ConfigurationProperties(prefix="persion"),默认获取根目录下的值*/@ConfigurationProperties(prefix="persion")publicclassPersion{privateStringname;privateIntegerid;privateBooleanbool;publicPersion(){}publicStringgetName(){returnname;}publicvoidsetName(Stringname){this.name=name;}publicIntegergetId(){returnid;}publicvoidsetId(Integerid){this.id=id;}publicBooleangetBool(){returnbool;}publicvoidsetBool(Booleanbool){this.bool=bool;}@OverridepublicStringtoString(){returnJSON.toJSONString(this);}}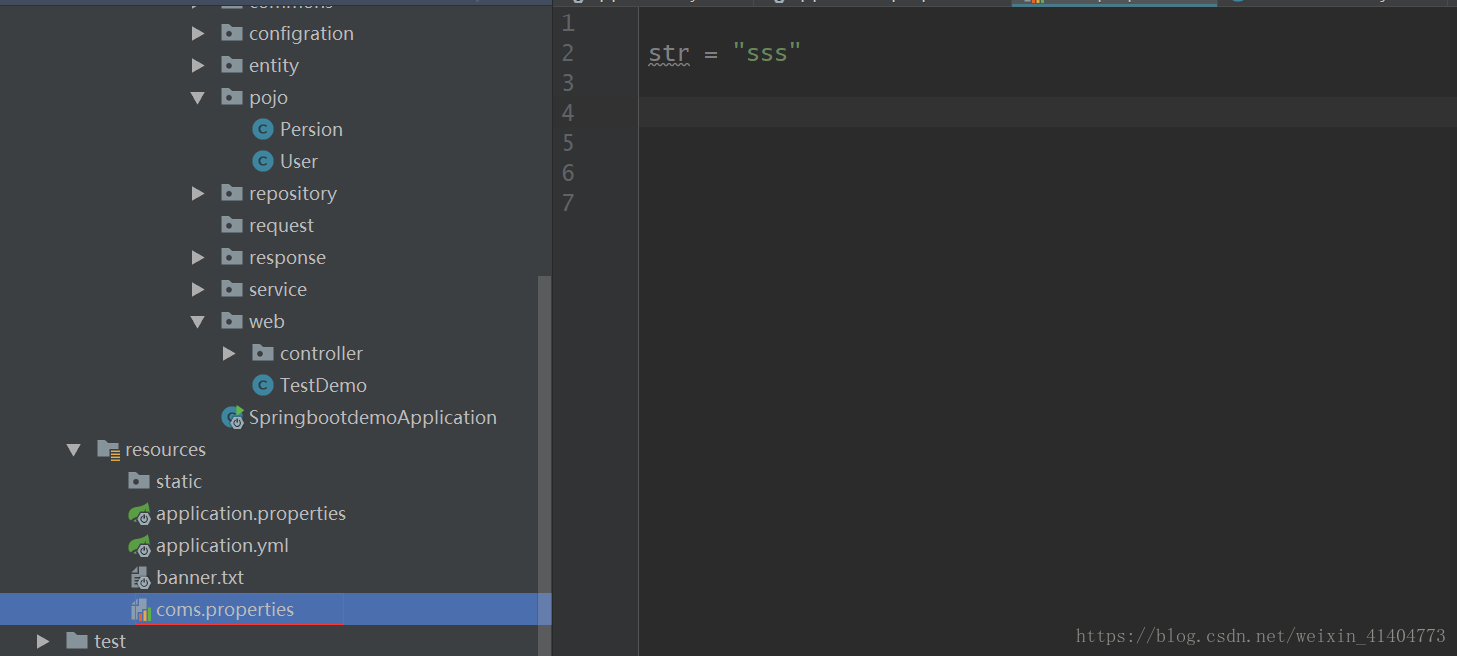
@ImportResource导入指定的配置文件

以上方式过于麻烦,springboot推荐通过全注解方式,添加组件的方式
通过注解@Configration申明一个配置类,通过注解@Bean可以使用在方法上面,申明一个组件的生成,要是放在方法上,表明这个方法的返回值放在ioc容器中
packagecom.example.springbootdemo.configration;importcom.fasterxml.jackson.annotation.JsonAutoDetect;importcom.fasterxml.jackson.annotation.PropertyAccessor;importcom.fasterxml.jackson.databind.ObjectMapper;importorg.springframework.context.annotation.Bean;importorg.springframework.context.annotation.Configuration;importorg.springframework.data.redis.connection.RedisConnectionFactory;importorg.springframework.data.redis.core.RedisTemplate;importorg.springframework.data.redis.serializer.Jackson2JsonRedisSerializer;/***CreatedwithIntelliJIDEA.*Description:Cms数据源的一些设置*Date:2018-06-08*Time:5:50PM**@author:wukn*/@ConfigurationpublicclassDataConfig{@BeanpublicRedisTemplateredisTemplate(RedisConnectionFactoryfactory){RedisTemplatetemplate=newRedisTemplate();template.setConnectionFactory(factory);Jackson2JsonRedisSerializerjackson2JsonRedisSerializer=newJackson2JsonRedisSerializer(Object.class);ObjectMapperom=newObjectMapper();om.setVisibility(PropertyAccessor.ALL,JsonAutoDetect.Visibility.ANY);om.enableDefaultTyping(ObjectMapper.DefaultTyping.NON_FINAL);jackson2JsonRedisSerializer.setObjectMapper(om);template.setValueSerializer(jackson2JsonRedisSerializer);template.afterPropertiesSet();returntemplate;}}通过占位符获取值
#通过使用占位符赋值persion.name=张三${random.value}persion.bool=falsepersion.id=12${random.int}person.last‐name=张三${random.uuid}person.age=${random.int}person.birth=2017/12/15person.boss=falseperson.maps.k1=v1person.maps.k2=14person.lists=a,b,cperson.dog.name=${person.hello:hello}_dogperson.dog.age=15springboot配置文件,占位符的使用
首先要给到注解
让user类可用通过配置文件进行实例化
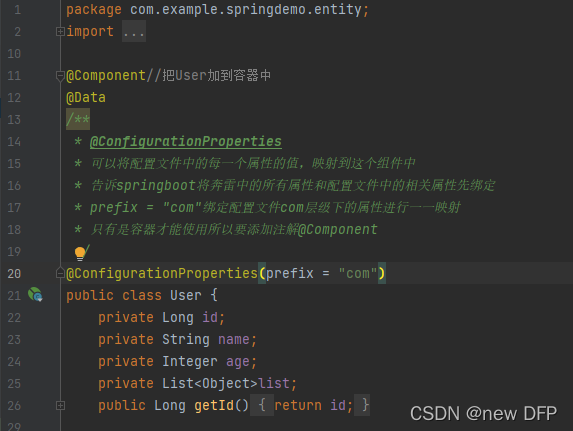
packagecom.example.springdemo.entity;importlombok.Data;importorg.springframework.boot.context.properties.ConfigurationProperties;importorg.springframework.context.annotation.Configuration;importorg.springframework.context.annotation.PropertySource;importorg.springframework.stereotype.Component;importorg.springframework.validation.annotation.Validated;importjava.util.List;@Component//把User加到容器中@Data/***@ConfigurationProperties*可以将配置文件中的每一个属性的值,映射到这个组件中*告诉springboot将奔雷中的所有属性和配置文件中的相关属性先绑定*prefix="com"绑定配置文件com层级下的属性进行一一映射*只有是容器才能使用所以要添加注解@Component*/@ConfigurationProperties(prefix="com")publicclassUser{privateLongid;privateStringname;privateIntegerage;privateList<Object>list;publicLonggetId(){returnid;}publicvoidsetId(Longid){this.id=id;}publicStringgetName(){returnname;}publicvoidsetName(Stringname){this.name=name;}publicIntegergetAge(inti){returnage;}publicvoidsetAge(Integerage){this.age=age;}publicStringgetEmail(){returnemail;}publicvoidsetEmail(Stringemail){this.email=email;}privateStringemail;publicIntegergetAge(){returnage;}publicList<Object>getList(){returnlist;}publicvoidsetList(List<Object>list){this.list=list;}}配置文件
com.email=99@dfp.comcom.name=newDFP${com.cc:不存在给默认值}com.age=${random.int}首先就是对age取随机数然后对name获取对象的数据
运行最后一个测试类
packagecom.example.springdemo;importcom.example.springdemo.entity.User;importcom.example.springdemo.mapper.UserMapper;importcom.example.springdemo.properties.Myproperties;importorg.junit.jupiter.api.Test;importorg.junit.runner.RunWith;importorg.springframework.beans.factory.annotation.Autowired;importorg.springframework.boot.test.context.SpringBootTest;importorg.springframework.context.ApplicationContext;importorg.springframework.test.context.junit4.SpringRunner;importjavax.sql.DataSource;importjava.sql.SQLException;importjava.util.List;@SpringBootTest@RunWith(SpringRunner.class)classSpringdemoApplicationTests{//如果测试类与启动入口类包名不一致,必须加该注解属性classes指定启动入口类,否则无法启动SpringBoot@AutowiredprivateDataSourcedataSource;@TestpublicvoiddataSource(){try{System.out.println(dataSource.getConnection());}catch(SQLExceptione){//TODOAuto-generatedcatchblocke.printStackTrace();}}@AutowiredMypropertiesmyproperties;@Testvoidtest(){System.out.println("------------------------");System.out.println(myproperties.getMes());}@AutowiredUserMapperuserMapper;@TestvoidtestMybatisPlus(){List<User>users=userMapper.selectList(null);for(Useruser:users){System.out.println(user);}System.out.println("查询成功!");Useraduuser=newUser();//aduuser.setName("DFP");//aduuser.setAge(18);//aduuser.setEmail("DFP19053025@qq.com");//aduuser.setId(19053065L);inti=userMapper.insert(aduuser);if(i>0){System.out.println("成功加入记录!");}else{System.out.println("失败加入记录!");}for(Useruser:users){System.out.println(user);}}@AutowiredUseruser;@Testpublicvoidcontextlodes(){System.out.println("测试结果输出:"+user);}}结果

因为com.cc是不存在的就回去:后面的默认值
如果com.cc存在就会取com.cc的值
测试如下
com.email=99@dfp.comcom.name=newDFP+++${com.email:不存在给默认值}com.age=${random.int}这次的值不再是默认值了com.email是存在数据的

</div> <div class="zixun-tj-product adv-bottom"></div> </div> </div> <div class="prve-next-news">本文:
如何使用springboot配置和占位符获取配置文件中的值的详细内容,希望对您有所帮助,信息来源于网络。