Linux系统安装PostgreSQL具体步骤是什么
导读:本文共5042字符,通常情况下阅读需要17分钟。同时您也可以点击右侧朗读,来听本文内容。按键盘←(左) →(右) 方向键可以翻页。
摘要: PostgreSQL是一个功能强大的开源对象关系型数据库系统,他使用和扩展了SQL语言,并结合了许多安全存储和扩展最复杂数据工作负载的功能。Linux系统安装postgresql具体步骤一、安装步骤1、设置保存安装包的目录$cd/app/software/2、开始下载源包在官网下载postgresql-12.1.tar.gz:https://www.postgr... ...
目录
(为您整理了一些要点),点击可以直达。
Linux系统安装postgresql具体步骤
一、安装步骤
1、设置保存安装包的目录
$cd/app/software/
2、开始下载源包
在官网下载postgresql-12.1.tar.gz:https://www.postgresql.org/ftp/source/
3、解压
$tar-zxvfpostgresql-12.1.tar.gz-C../
4、进入移动后的目录
$cd/app/postgresql-12.1
5、检查依赖包
$yuminstall-ybison$yuminstall-yflex$yuminstall-yreadline-devel$yuminstall-yzlib-devel
6、配置选项生成Makefile,默认安装到目录:/app/postgresql-12.1
$./configure--prefix=/app/postgresql-12.1
7、编译并安装
$make$makeinstall
8、创建,添加postgres 用户到 postgres组
$groupaddpostgres$useradd-gpostgrespostgres$chown-Rpostgres:postgres/app$mkdir-p/app/postgresql-12.1/data$supostgres
9、初始化数据库
$/app/postgresql-12.1/bin/initdb-D/app/postgresql-12.1/data/
10、启动数据库
$/app/postgresql-12.1/bin/pg_ctl-D/app/postgresql-12.1/data/-llogfilestart --启动数据库$/app/postgresql-12.1/bin/pg_ctl-D/app/postgresql-12.1/data/stop--停止数据库$/app/postgresql-12.1/bin/pg_ctlrestart-D/app/postgresql-12.1/data/-mfast--重启数据库
二、postgreSQL配置
1、修改postgresql.conf,修改主要的配置参数。
修改前可以先备份一下
$cd/app/postgresql-12.1/data/$cppostgresql.confpostgresql.conf_bak$vim/usr/local/pgsql/data/postgresql.conf
修改 listen_addresses = ‘192.168.226.128’ 前面的#号需要去掉。
默认参数是‘localhost‘ ,一般会改成实际Ip地址。
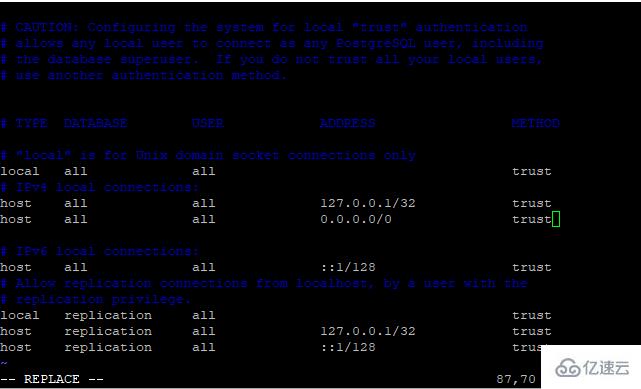
2、修改postgresql.conf,修改数据库的访问权限。
$vim/app/postgresql-12.1/data/pg_hba.conf
添加以下,表示主机所有IP都可以访问。
host all all 0.0.0.0/0 trust
3、添加环境变量

$suroot$cd/home/postgres$vim.bash_profile
添加:
export PGHOME=/app/postgresql-12.1
export PGDATA=/app/postgresql-12.1/data
PATH=HOME/bin:$PGHOME/bin
$ source .bash_profile
4、设置开机自启动
$cd/app/postgresql-12.1/contrib/start-scripts
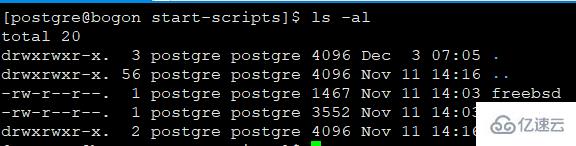
由于这个文件权限没有设置为X可以执行权限,我们需要设置它为可运行。
$chmoda+xlinux

#cplinux/etc/init.d/postgresql(复制linux文件到/etc/init.d目录下,并更名postgresql)#vimlinux/etc/init.d/postgresql
查看
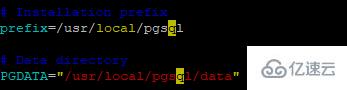
prefix=/app/postgresql-12.1 (安装程序的文件路径)
PGDATA=”/app/postgresql-12.1/data” (数据存放目录)
如果和自己的路径一致就不需要修改了,按ESC键 ,然后:q退出编辑。
$chkconfig--addpostgresql(添加开机启动项目)$chkconfig(看下是否设置成功)

4、设置系统配置,开放默认的5432端口
如果CentOS6 使用iptables执行以下步骤。
$vim/etc/sysconfig/iptables
添加
-AINPUT-ptcp-mtcp--dport5432-jACCEPT$cd/etc/init.d/iptablesrestart(重启服务)
如果CentOS7 有使用firewall防火墙执行以下步骤。
$firewall-cmd--zone=public--list-ports$firewall-cmd--zone=public--add-port=5432/tcp--permanent(添加5432端口)$firewall-cmd--reload(重启防火墙)
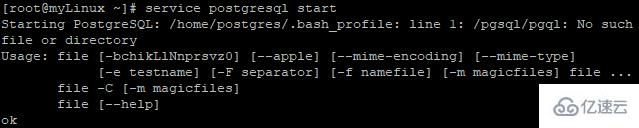
5、启动服务
$servicepostgresqlstart
6、查看PostgreSQL服务
$ps-ef|greppostgres

7、设置默认密码
PostgreSQL安装后会自动创建一个数据库用户,名为postgres
$psql-Upostgres
postgres=# ALTER USER postgres with encrypted password ‘asd111’; (asd111密码自由设置)
postgres=# \q (可退出)
确定后就开放了5432端口了。
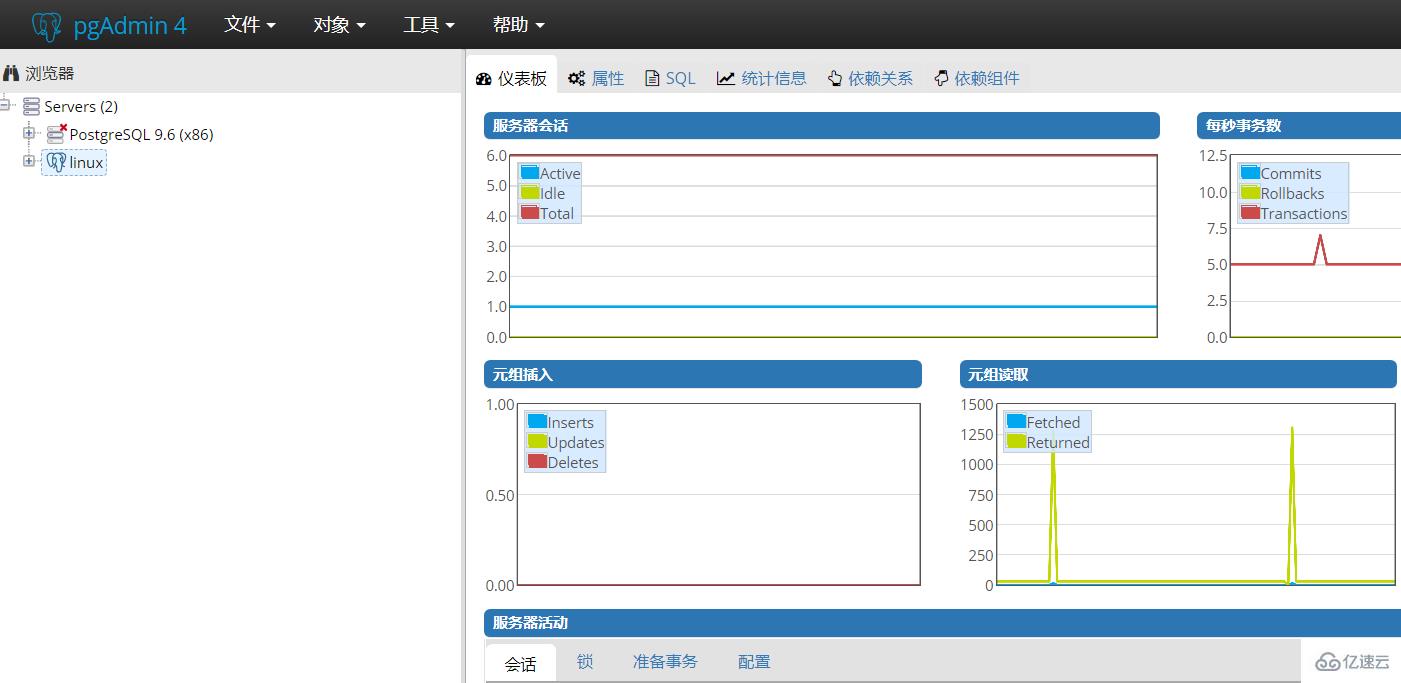
2、使用pgAdmin连接数据库
配置IP,5432端口,用户,密码:asd111 就可以连接了。
</div> <div class="zixun-tj-product adv-bottom"></div> </div> </div> <div class="prve-next-news">Linux系统安装PostgreSQL具体步骤是什么的详细内容,希望对您有所帮助,信息来源于网络。